Wednesday, November 23, 2005
In Which I Describe How to Knit the Sides of the Hat
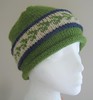
So, has everyone finished knitting the top of their hat? Let's move on to the sides.
Step 3:
Knit 2 rounds plain.
Begin knitting in any pattern stitch you like. Don't forget, however, that the pattern stitch must be a multiple of 2, 3, or 6 unless you increase or decrease some stitches. I used a simple two-stitch, two-round repeat as follows:
Round 1: knit
Round 2: *k1, p1; repeat from * to end of round
Other good choices are:
The half linen stitch, which makes a nice, sturdy hat and looks good with variegated yarn. WYIF means "with yarn in front."
Round 1: *k1, wyif slip 1 purlwise; repeat from * to end of round
Rounds 2 & 4: knit
Round 3: *wyif slip 1 purwise, k1; repeat from * to end of round
or
This stitch pattern (I don't know the name) which makes a really stretchy hat if you don't know the head size of the recipient.
Round 1: *k1, knit one in the stitch below; repeat from * to end of round
Rounds 2 & 4: knit
Round 3: *knit one in the stitch below, k1; repeat from * to end of round
Of course, you can also just knit each round to make a stockinette stitch cap, or do a k2, p2 rib.
Work your chosen stitch pattern until the sides are the right length. If you want a beanie-style hat, make the sides short. If you want a cap that you can pull over your ears, make them longer.
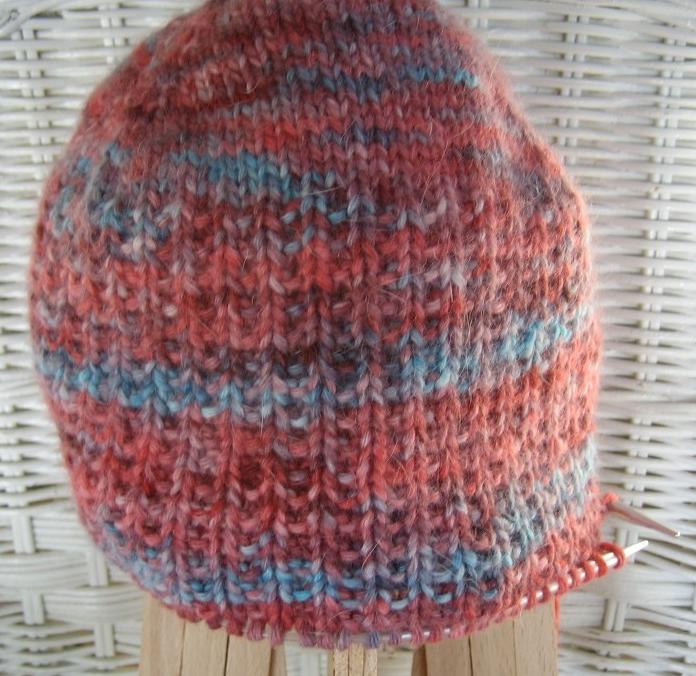
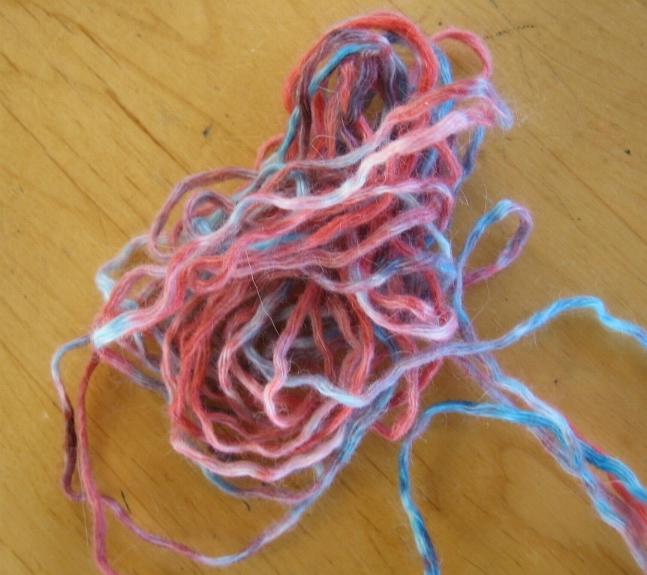
I stopped after 4 inches because I was almost out of yarn.
Let me know when you've caught up with me and I'll tell you how to finish off the bottom edge of the hat.
Who's linking here?